Loading Dock Bumpers: Placement, Height and Fixing Guide
Position and fix loading dock bumpers correctly to protect your building, trailers and team from repeated reversing impacts.
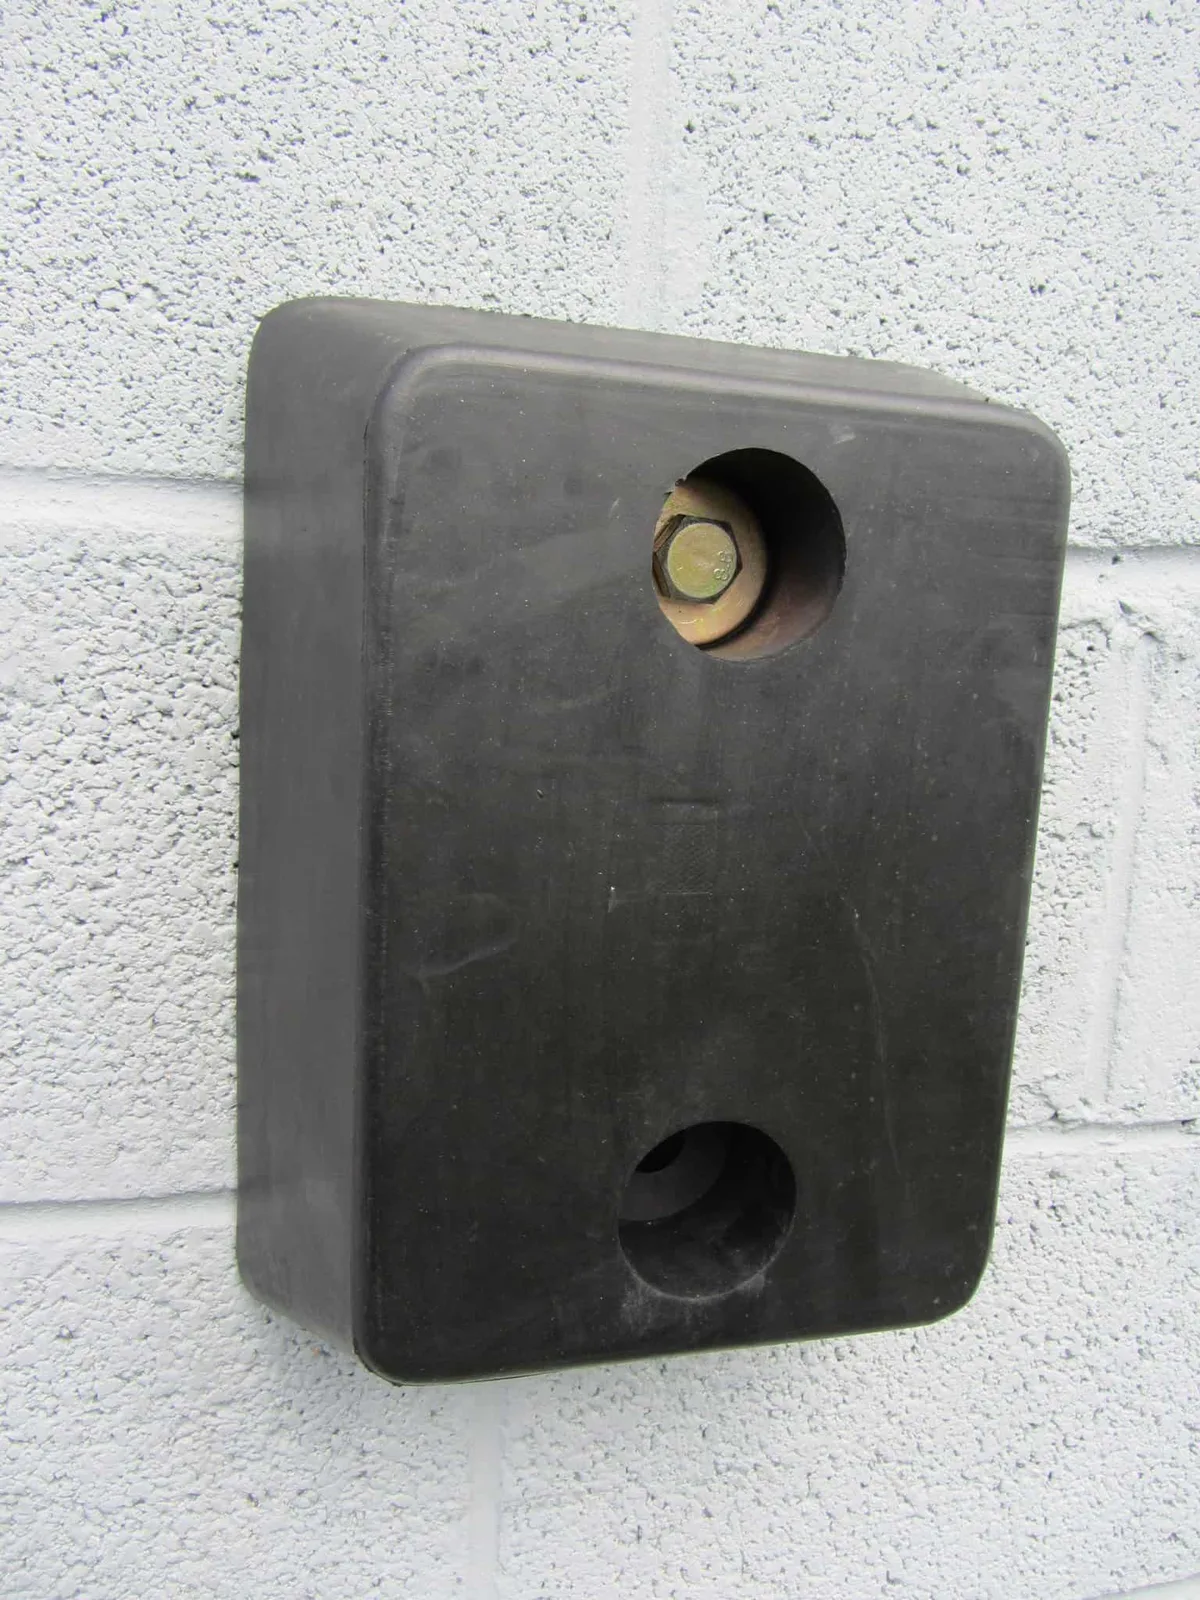
Loading dock bumpers absorb the impact of reversing trailers so your building, doors and dock levellers stay intact. Positioned correctly, a bumper stops the vehicle exactly where you want it. Installed poorly, the same bumper sits too low, misses the trailer's rubbing strip, or works loose under repeated load. This guide walks through the placement, height and fixing detail that keep a rubber bumper assembly doing its job.
How the bumper stack works
A typical bumper assembly is made of several parts, each with a distinct role:
- Back plate: the structural body that ties into the dock face.
- Rubber bumper: the sacrificial element that absorbs impact and is replaced when worn.
- Front sliding plate: an optional UHMWPE wear face that lets trailers slide instead of grabbing.
- Packing shims: set the stand-off and fine-tune where first contact occurs.
Where to place the bumper
The goal is to intercept the trailer's rubbing strip, not its bodywork or your dock wall. Vertically, set the centre of the bumper stack close to the midpoint of the dock leveller's operating range. For the horizontal stand-off, space the bumper so the reversing trailer touches it before any door frame or cladding; this typically falls between 75 mm and 150 mm. Place bumpers symmetrically either side of the leveller and align them with the wheel guides so the trailer meets the bay square on first touch.
Height and fleet matching
Start with your dock height and the rubbing strip range of the vehicles you receive most. Depending on suspension, load and yard slope, that band usually sits between roughly 350 mm and 550 mm above ground level. Choose a bumper height that covers it, so first contact is consistent. If you handle double-deck trailers, low-floor units or urban rigids, measure their rubbing strip height and switch to thicker rubber or stacked pads to keep contact in real use.
Fixing to concrete and steel
Your fixing method depends on the structure you mount to. In every case, use the pre-drilled holes in the back plate.
- Concrete: use sleeve anchors sized to the plate holes (for example M12 or M16), drill to the manufacturer's embedment depth, blow out dust and tighten to the recommended torque.
- Steel: bolt through with matching nuts and washers; on thin faces add a spreader plate to prevent distortion.
- Rubber and front plate: fit the rubber to the back plate, then mount any UHMWPE face over it with countersunk fixings to an even, snug clamp.
Pre-install checks and when to replace
Before you drill, measure dock height, note the leveller range and confirm common trailer rubbing strip heights. Check plate and anchor compatibility, and inspect the wall face for cracks or weak edges. Replace the sacrificial parts before peak season if you see split rubber, deep gouges, compressed pads, exposed fixings or loose countersunk bolts. Replace the whole assembly if the steel is distorted, fixings will not stay tight, or the stack has shifted out of line. Early replacement costs far less than concrete repairs and unplanned downtime.