Wheel Chocks Guide: How Many You Need and Correct Use
When to use wheel chocks, how many you need and where to place them on slopes. A practical field guide for trucks and aircraft.
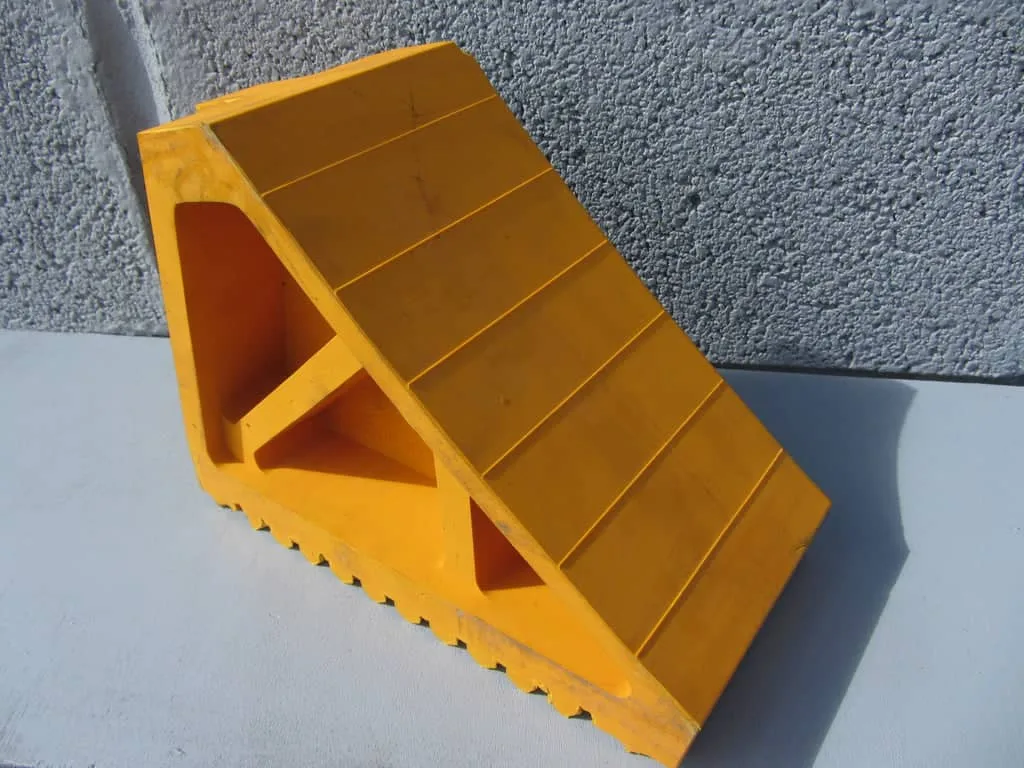
Wheel chocks are among the cheapest safety controls in loading bays and parking yards, yet they prevent serious incidents despite their simplicity. A brake that releases, an air system that bleeds down or a tyre that slips on a wet surface can all lead to uncontrolled movement. This guide explains what a chock does, how many you need, where to position it on a gradient and how to choose the right material.
What does a chock do?
A wheel chock is a wedge-shaped block that bears against the tyre. When gravity or vibration tries to turn the wheel, it creates a physical barrier and stops the movement. A chock complements the parking brake and jack stands; it does not replace them. In busy yards, that small wedge can prevent a major incident.
Do you really need them?
Yes, whenever there is any risk of movement. Use chocks when you are:
- Loading or unloading at a dock or in the yard
- Parking on a gradient, even a slight one
- Working under or around the vehicle
- Leaving a trailer uncoupled
- Parking aircraft during turnarounds, refuelling or maintenance
How many for a trailer?
For HGV trailers, common practice is two chocks, one on each side of a single wheel, placed on the downhill side relative to the slope. Even on level ground a pair is recommended, because lateral nudges and trailer bounce can overcome a single chock. Increase the count when the gradient is significant, the surface has low friction, or the trailer is heavily loaded with a high centre of gravity. On twin-axle trailers, chock the axle that would move first if the trailer rolled; if in doubt, chock both axles.
How to chock correctly
- Park and brake: Stop the unit, apply the parking brake, select neutral and switch off the engine. For an uncoupled trailer, confirm the landing legs are down and secure.
- Read the slope: Identify the downhill direction. If you cannot tell by eye, place a small ball on the ground to test for roll.
- Position the chock: Set the first chock tight against the tyre on the downhill side so the tyre rolls into it rather than over it. Fit the second chock on the opposite side.
- Test it: Rock the unit gently by hand so the tyre settles into the chock. Do not drive against it.
- On departure: Remove chocks last, after the unit is coupled and the parking brake is confirmed off.
Gradient tip: when parked facing uphill, chock the rear of the wheel; when facing downhill, chock the front. On a crossfall, position the chock to block sideways movement.
Rubber or polyurethane?
Both materials are proven; the right choice depends on your environment. Rubber is heavy with excellent base friction, sits firmly on concrete and tarmac and grips well in the wet, but it can harden under UV, so store it out of direct sunlight and inspect for cracking. Polyurethane is wear-resistant and lighter to carry for frequent placement, and bright colours improve visibility around busy bays. For high-turnover bays a hi-vis polyurethane chock speeds up handling, while rubber offers superior grip in harsh conditions. To stop chocks going missing, add a bolt-down pivot at each bay or short tethers with eye bolts to a fixed point.